# Passport.js
Passport는 Node.js진영에서 가장 널리 사용되고 있는 authentication middelware 입니다.
Passport is authentication middleware for Node.js. Extremely flexible and modular, Passport can be unobtrusively dropped in to any Express-based web application. A comprehensive set of strategies support authentication using a username and password, Facebook, Twitter, and more. -passportjs.org
개인적으로 진행하고 있는 Toy project가 있는데, Node.js를 이용해서 Server-side를 개발하고 있습니다.
- ID/Password 로그인 불가 - DB에 해당 정보를 가지고 있기 싫음
- Google, Naver, Kakao 아이디를 연동한 로그인만 가능
- 별도의 회원가입 절차 없이 소셜 로그인을 성공 하면
- 1 해당 소셜의 아이디를 가진 User가 있을 시 로긴
- 2 해당 소셜의 아이디를 가진 User가 없을 시 User생성 후 로긴
위와같은 기능을 구현하기 위해 소셜 로그인 기능을 검색 하다가 Passport.js 를 알게 되었고,
초보자의 입장에서 1부터 이해하기 쉽게 설명 되어있는 글을 찾기가 쉽지 않아서 기록의 목적으로 포스팅 합니다.
# Flow
일단 이게 어떤 흐름으로 동작 하는지를 이해 할 필요가 있습니다. 편의상 구글 로그인을 하는것으로 설명하면
- 화면에서 구글 로그인 버튼을 누름
- 구글 로그인 페이지가 뜸 (구글의 로그인 페이지. 나한테는 이 페이지의 주도권이 없음)
- 로그인 성공/실패 결과와 함께 구글 로그인 페이지가 Callback 함수를 찔러줌 (이때부터 다시 주도권이 나한테 돌아옴)
쉽게 위 세가지의 단계로 이뤄지고 구글로 설명 했지만
구글, 페이스북, 카카오, 네이버, 깃헙 등등 소셜 로그인 서비스를 제공 해 주는 업체들 모두 동일 합니다.
더 자세히 설명하진 않겠지만 각 서비스에 사용 신청을 하는 페이지에 필수적으로 넣어야 하는 값으로
- 서비스URL (또는 사이트 도메인)
- Callback URL (또는 Redirect URL)
서비스URL은 내 홈페이지 URL을 적어 주면 되고, Callback URL은 로그인 결과를 받을 내 서버의 api 주소를 적어 주면 됩니다.
제 서비스는 아래와 같이 적어서 서비스 사용 신청을 했습니다.
- 서비스URL: http://plp.nakjunizm.com
- Callback URL: http://plp.nakjunizm.com/auth/google/callback
# 구현
어떤 흐름인지는 대충 알겠으니, 구현을 해 봅시다. < /br>
First things first. 필요한 모듈을 설치 합니다.
1 | npm install passport passport-google-oauth20 express-session |
Passport 에서는 로그인을 Strategy라는 이름으로 구분짓는데, passport-google-oauth20 은 구글로그인을 하기 위한 Strategy를 쉽게 사용하기 위해 설치 합니다. express-session은 나중에 로그인 세션을 유지하기 위해 passport.session()을 호출해 줘야 하는데 이때 필수적으로 사용 됩니다.
아래 코드는 Strategy를 등록할 passport.js 입니다.passport.serializeUser() 와 passport.deserializeUser()는 세션과 관련된 함수 입니다.
제가 찾아봤던 대부분의 글에서 그냥 무작성 써야 동작한다 라고만 적혀있어서 이해하기 쉽지 않았는데 역시 모든 답은 공식 다큐먼트에 있었습니다. 꼭 공식 다큐먼트를 읽어보는 습관을 들입시다 ㅎㅎ
Sessions
In a typical web application, the credentials used to authenticate a user will only be transmitted during the login request. If authentication succeeds, a session will be established and maintained via a cookie set in the user’s browser.
Each subsequent request will not contain credentials, but rather the unique cookie that identifies the session. In order to support login sessions, Passport will serialize and deserialize user instances to and from the session.
1 | const passport = require("passport"); |
server.js는 서버를 띄우는 main 클래스 입니다.
1 | const express = require("express"); |
공식 다큐먼트를 보면 static과 bodyparser관련 코드들이 있지만, 일단 여기서는 사용하지 않고 쌩으로 URL을 치고 들어가서 로그인 성공 여부만 테스트 해 보겠습니다;
임시로 / 와 /login 의 get route를 server.js에 넣어 놨고 나중에도 사용할 auth router는 따로 파일로 뺐습니다.
1 | const express = require("express"); |
웹브라우저에서 http://localhost:5000/auth/google 을 치고 들어 가면, passport.authenticate("google", { scope: ["profile"] }) 이 부분이 호출 되는데 이게 맨~위에 설명 했던 Flow의 2번. 구글 로그인 페이지가 뜸 (구글의 로그인 페이지. 나한테는 이 페이지의 주도권이 없음) 입니다.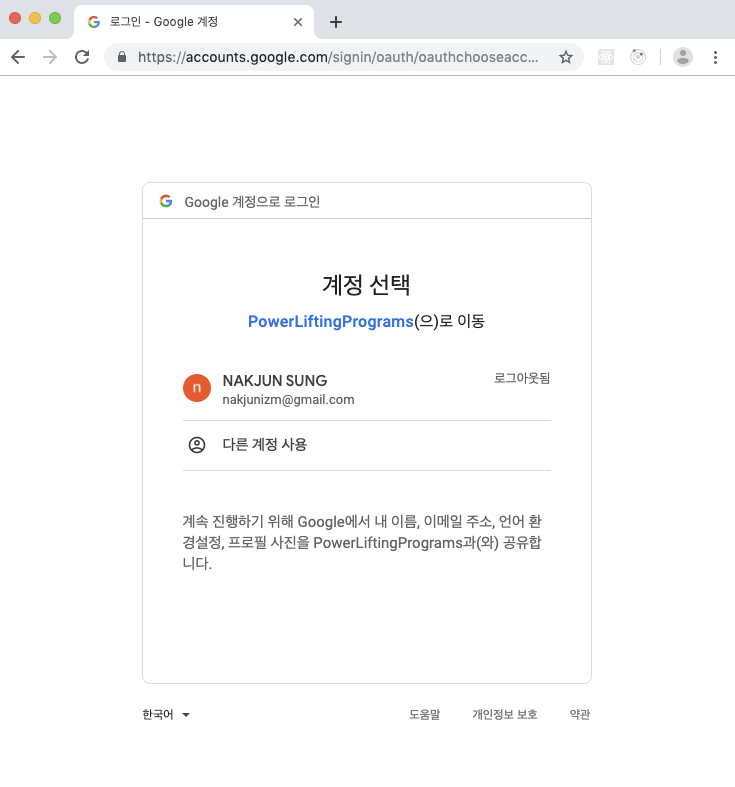
이와같이 로그인 페이지가 보인다면 정상적으로 동작 하고 있다는 뜻 이겠죠.
로그인을 진행 하면 Flow의 3. 로그인 성공/실패 결과와 함께 구글 로그인 페이지가 Callback 함수를 찔러줌 (이때부터 다시 주도권이 나한테 돌아옴)이 진행 됩니다.
/google/callback 라우트를 보면 passport.authenticate("google", { failureRedirect:...})이라고 되어 있는데 “google” strategy를 실행 할 것이고, 실패 시에는 failureRedirect로 보내겠다는 뜻 입니다.
google strategy는 위에서 작성한 passport.js에 적혀있는대로 회원정보가 있으면 로그인, 없으면 자동으로 회원가입 시키면서 로그인을 합니다.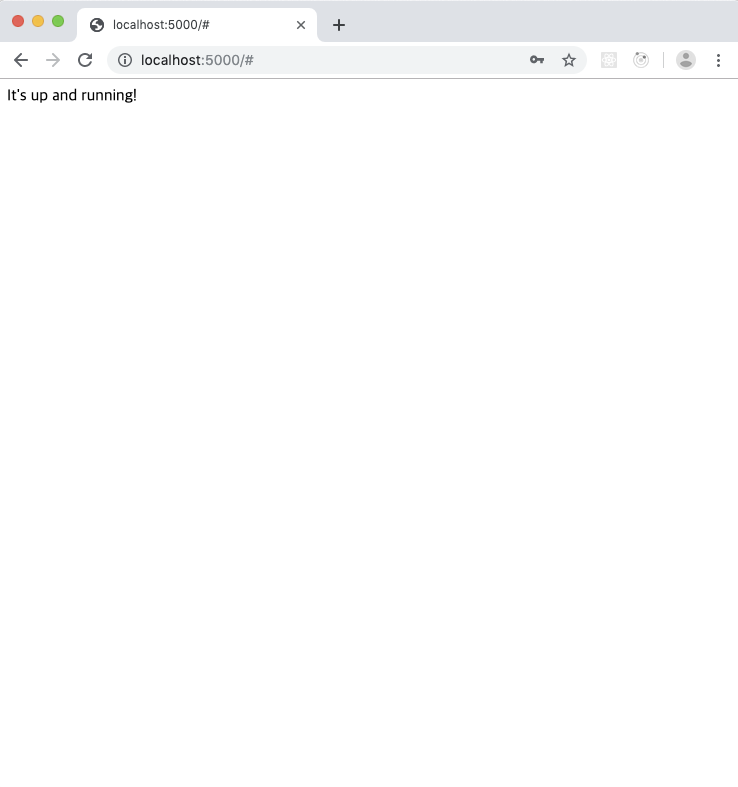
# 정리
Node.js를 최근에 공부하기 시작하여 ES6, ES7 문법으로 시작했기 때문에 어떤때는 다큐먼드들이 보기가 힘이 듭니다.
공부한걸 정리하는 차원에서 최대한 arrow function 과 async await try catch를 사용 하였습니다.
저도 이제 막 공부하는 단계이기 때문에 내용에 틀린점이 있다면 커멘트 부탁드립니다!